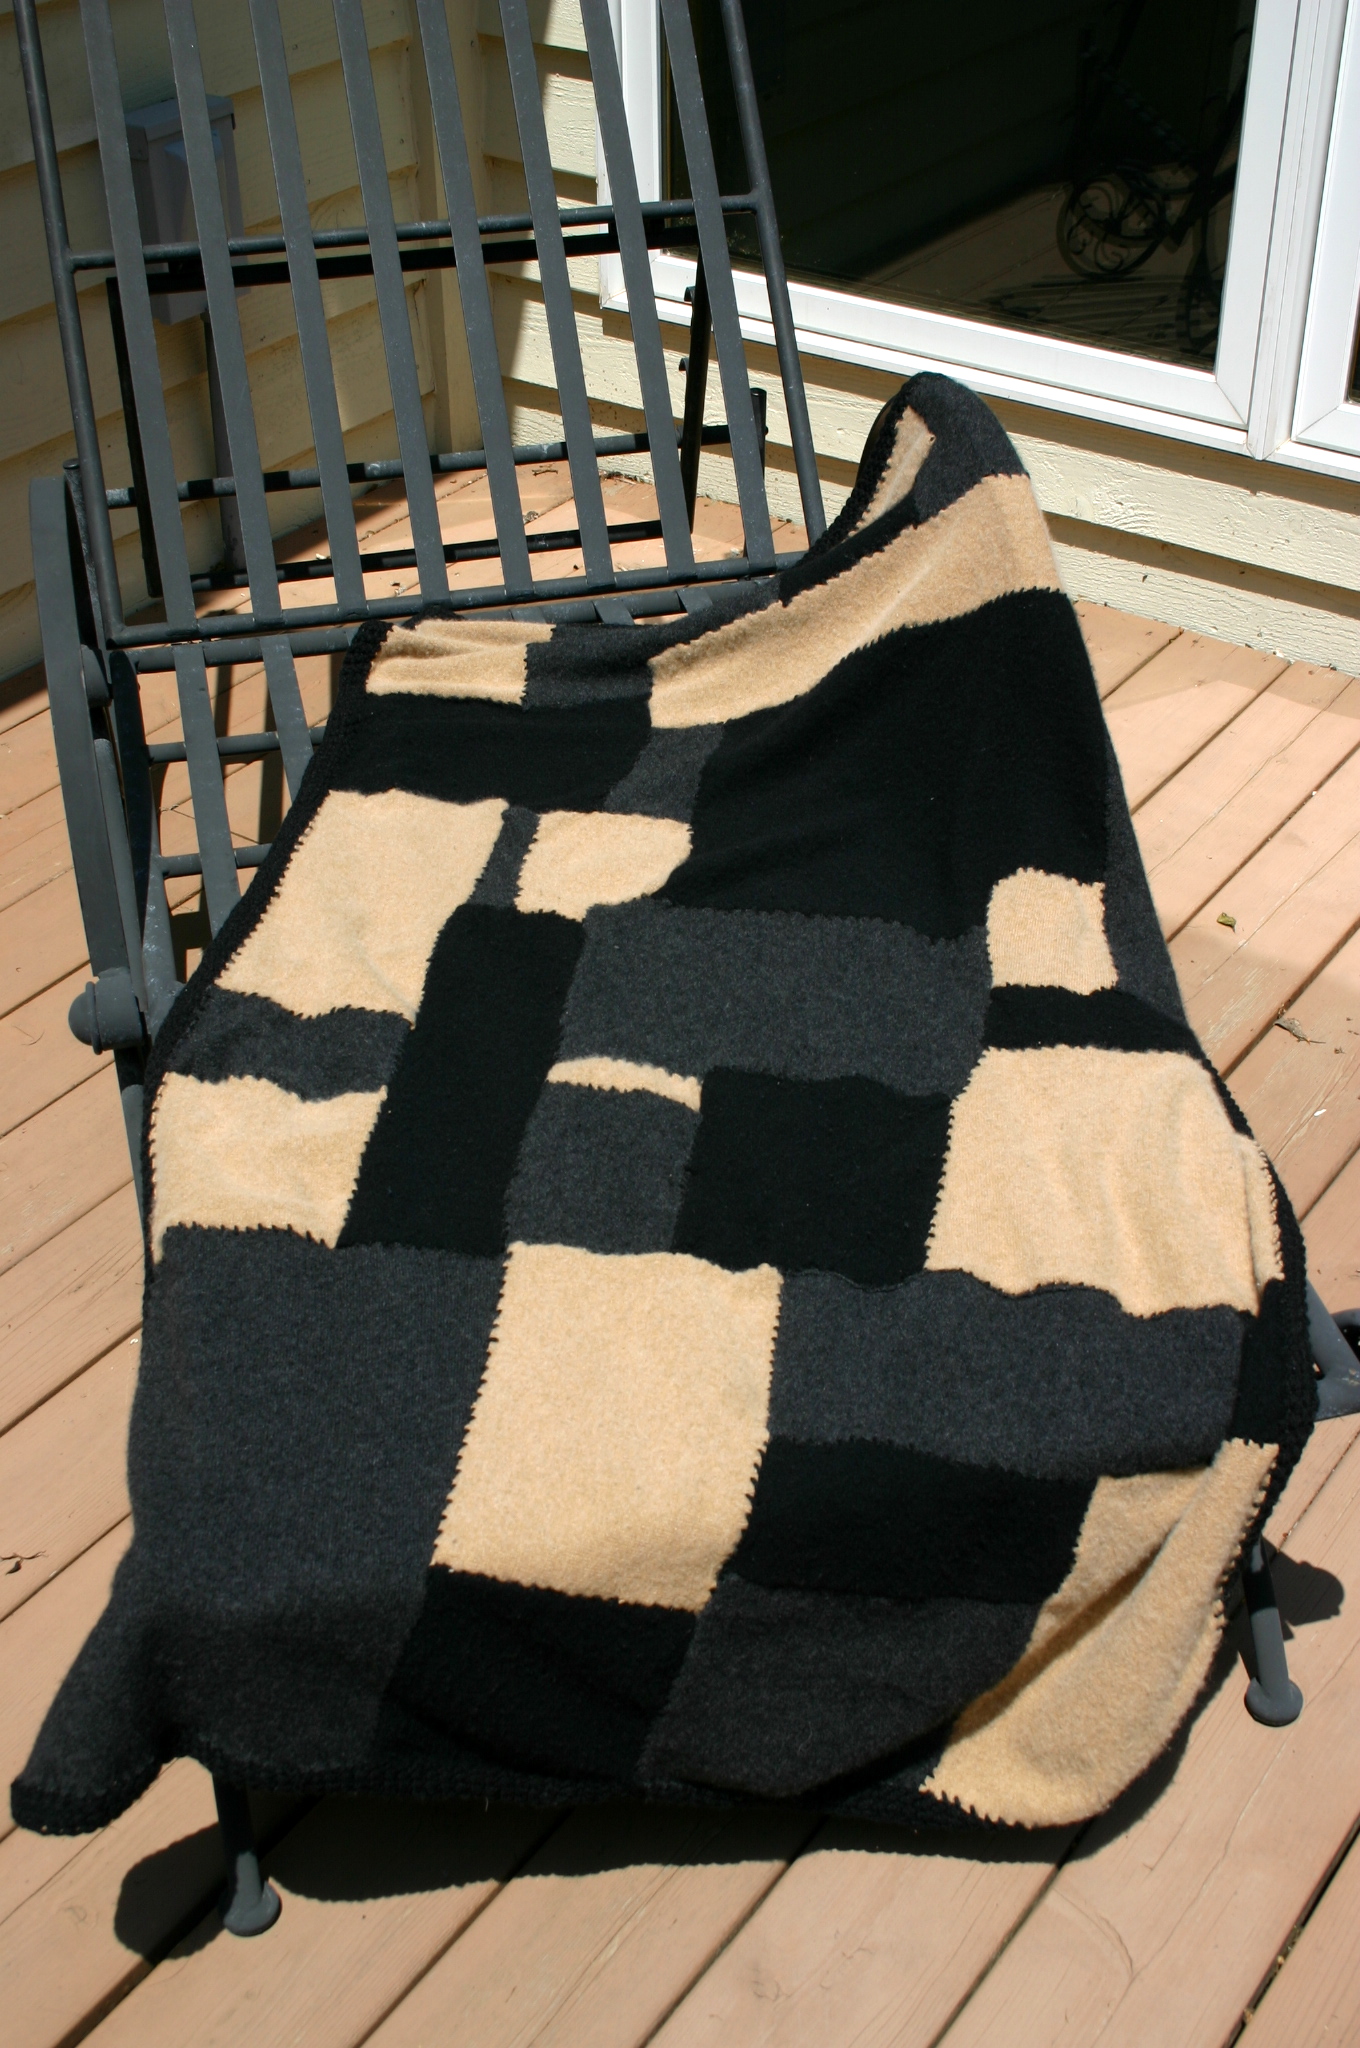
 Something for Dad
Materials:
3 large cashmere sweaters
Sewing scissors
Black acrylic yarn (or other color/fiber)
Large darning needle
Paper and pen/pencil
Clean floor or table to work on
Optional: pins or camera
Instructions:
Use paper and writing utensil to map out the blanket design. Predetermine which blocks will be which color to avoid same colors landing side by side.
Cut sleeves off of sweaters and cut along one side seam of each sweater for two smaller pieces (sleeves) and one large flat piece (body).
Being conscious of using fabric wisely, begin by cutting the largest shape first. When cut, place flat on floor or table. Use this piece as a gauge for cutting other shapes. Line up to already cut pieces when cutting a new piece.
Note: you may of course determine exactly how much fabric you have and measure out each shape as you go, but adjusting sizes as you go along works just fine.
When all your pieces are cut, you may want to pin the pieces together or take a picture of the finished pattern if it changed from the original illustration.
Using the overcast stitch with the darning needle and yarn, stitch along all edges of the shapes, connecting them where they touch each other. I had no problem with unraveling, but if you find that you do, try first sewing a zig zag stitch along all edges before doing the overcast stitch.
Note: If your shapes came out smaller than you wanted, you can use the overcast stitch around every shape and then crochet borders around them before connecting to make the blanket bigger or create a different look.
When all pieces are connected and the whole blanket is framed by overcast stitching, use the outside stitches to crochet a border. Continue border to desired width and tie off.
Enjoy and stay warm!


0 Comments