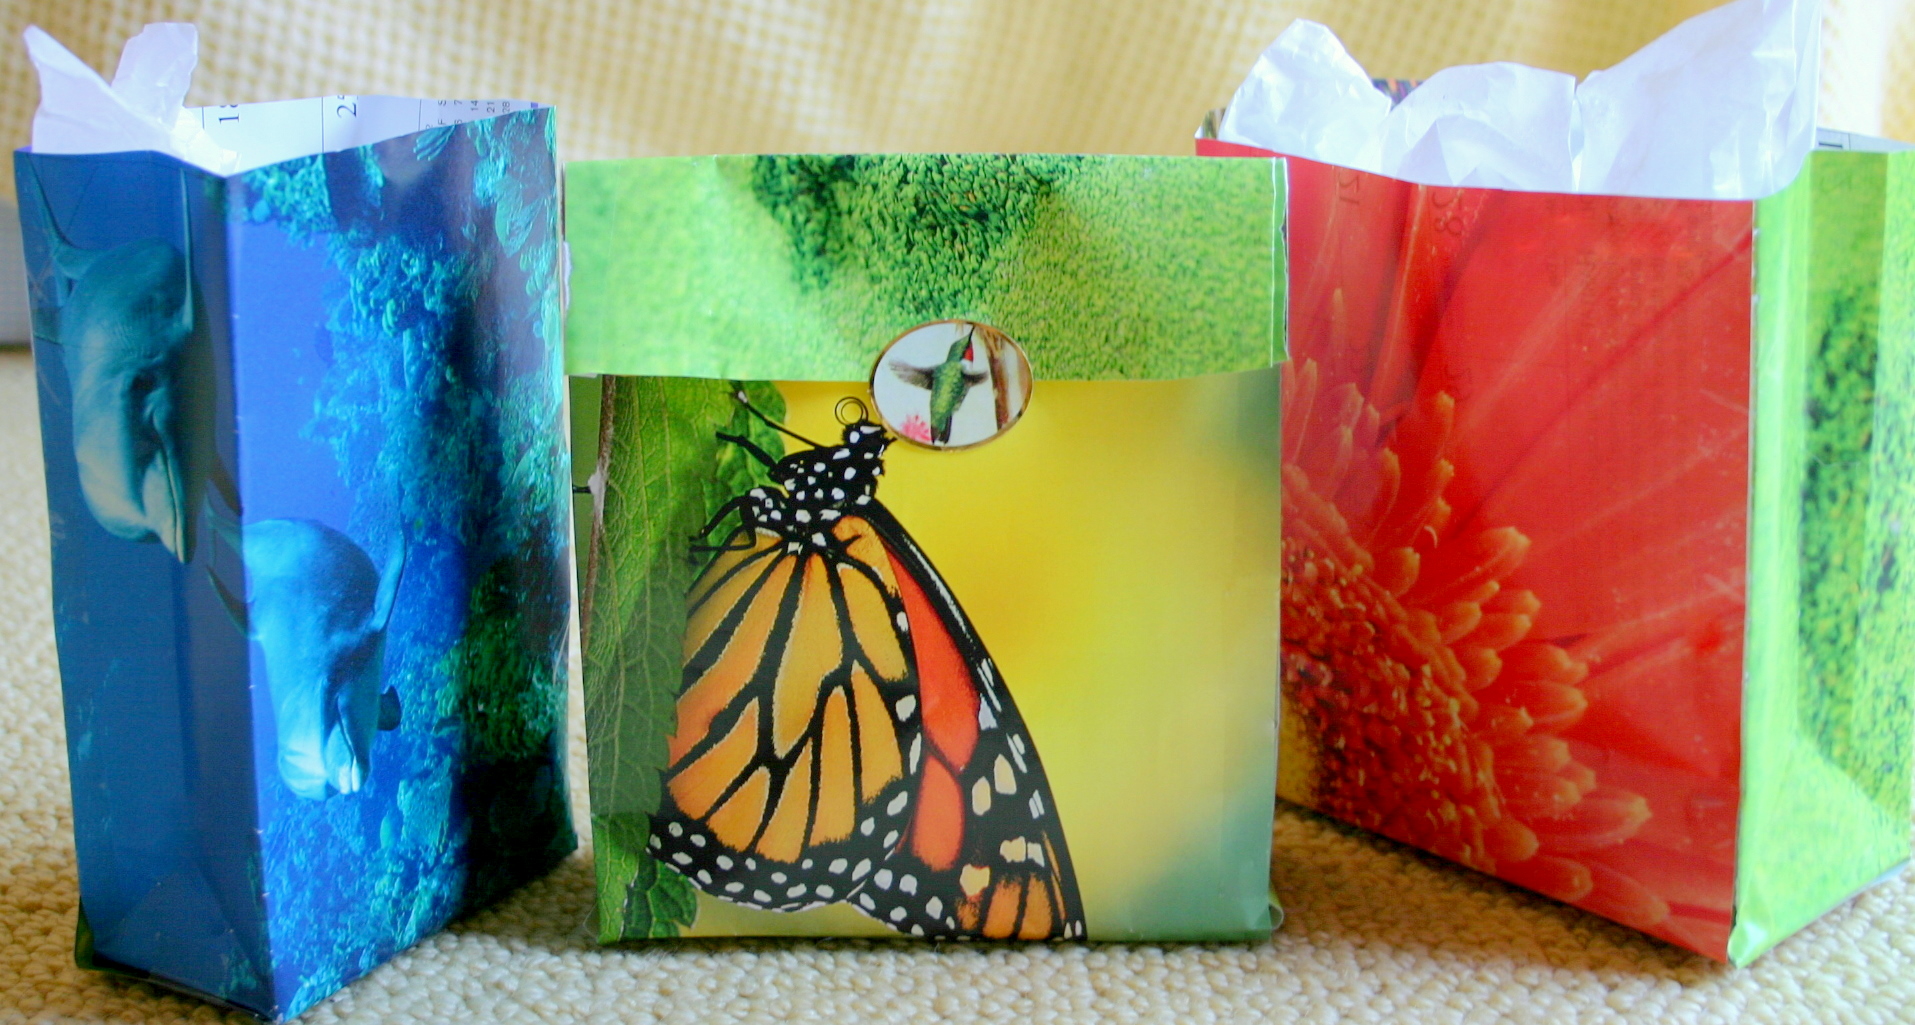
I was scouring the internet for a gift bag pattern that I liked and could use with materials I had. While the newspaper bags by How About Orange and cardboard box bags by Amy Stultz are nice, I wanted a more colorful look and wasn't crazy about using boxes. This is what I ended up doing instead!
Materials:
2 pages from a calendar (I get a lot of these from charities)
Scissors
Scotch tape
Optional ribbon for handles or sticker for closure

 1. Determine what size gift bag you want to make. You are obviously limited by the pages you use and whether you make the bag vertically and horizontally. This tutorial shows vertically. You can tell how wide the bag will be in front based on how wide the sides are. If you want 2-inch sides, the front of the bag will be the width of the page minus two inches. Adjust width and height to your preference. I like to take off the end where the calendar hole punch is. Make sure to cut as straight as possible so that edges will line up when you put pages together.
 2. Put the two pages together so that the design or picture faces outward. Tape the two sides together, leaving an inch and a half untaped at the bottom.
3. When you finish taping, you will be able to make a cylinder-like shape by opening the gap between the pages. Crease one of the sheets about an inch and a half from one of the taped sides. Adjust how far or close to the side you make your crease based on how wide you want the bag to be. When you do this, the pages will curve so that you can see where the next crease should go. Make the second crease on the opposite side.


4. Working with the bottom of the bag, cut slits where you made creases to the same height that you stopped taping the sides. When the slits are made, fold the flaps down to equal heights to make the bottom of the bag, smallest flaps on the inside. If the flaps are too large or don't line up, trim to the appropriate size. Tape the flaps into place.

 5. Turning the bag right side up, use your finger to press in the center of one side of the bag and make a crease, as shown. Do the same of the other side.
6. Place the bag so that it lays on the surface you are using. When you press your new creases inward, a triangle-like shape will form toward the bottom of the bag, letting you know where to make your final crease. Make the crease and unfold the bag - done!

 7. You can customize your bag however you want, adding ribbon handles (make sure that gift is light enough to not rip bag when handles are used), folding the top over for a lunch bag look, or leaving the bag as it is. I was short on ribbon, but handleless bags worked just fine. The calendar pages had the right texture so that they weren't slippery when lifted.


0 Comments