
Big thanks to guest blogger Sara from Pure Veganity for sharing this tutorial!
Hello! This is Sara J
(friend of Sarah G) here for a quick tutorial in making custom clothing for
your build-a-bear, or any stuffed animal. It’s much cheaper than buying
clothes, and you can make anything your heart desires.
Everything you need is shown here – cloth, scissors, needle and pins, thread, and snaps. And a furry friend, of course – Joey will be modeling a few shirts for us today.

Everything you need is shown here – cloth, scissors, needle and pins, thread, and snaps. And a furry friend, of course – Joey will be modeling a few shirts for us today.

First, cut
a rectangle of cloth big enough to wrap around the bear – make sure to leave
plenty of room for hems. I cut a neckline and arm holes as well – keep
referencing your model to be sure everything is in the right place.

Next, hem all the
sides except the arm holes; trim excess fabric as needed.


Once all the sides are done, sew on the snaps in the back of the shirt. I used three snaps per shirt, again using Joey as the model to make sure the fit was right.


Next, cut two
rectangles that are long enough to wrap around the arms. Hem the bottom edge.
Put your shirt on the bear inside out, and pin the sleeves on as shown below – longer on
top, and shorter on the bottom. Fold the sleeves over and pin them in place. Trim away the excess fabric and sew them in place - I sewed the sleeves while Joey was still wearing the shirt; just make sure everything is inside out.

Turn the shirt right-side out and snap into place.
Ta-daa! Looking stylish.

For extra customization, I used Avery dark iron-on fabrictransfers. There are a few brands, but these had the best reviews, and I didn’t
have any problems with them. You just design what you want on the computer, print it onto
the sheet, and iron it onto your shirt. For more instructions on using Avery iron-ons, visit this website.


Here’s a picture of a batman shirt I made, and the miniature track shirt I made for my friend so they can match!
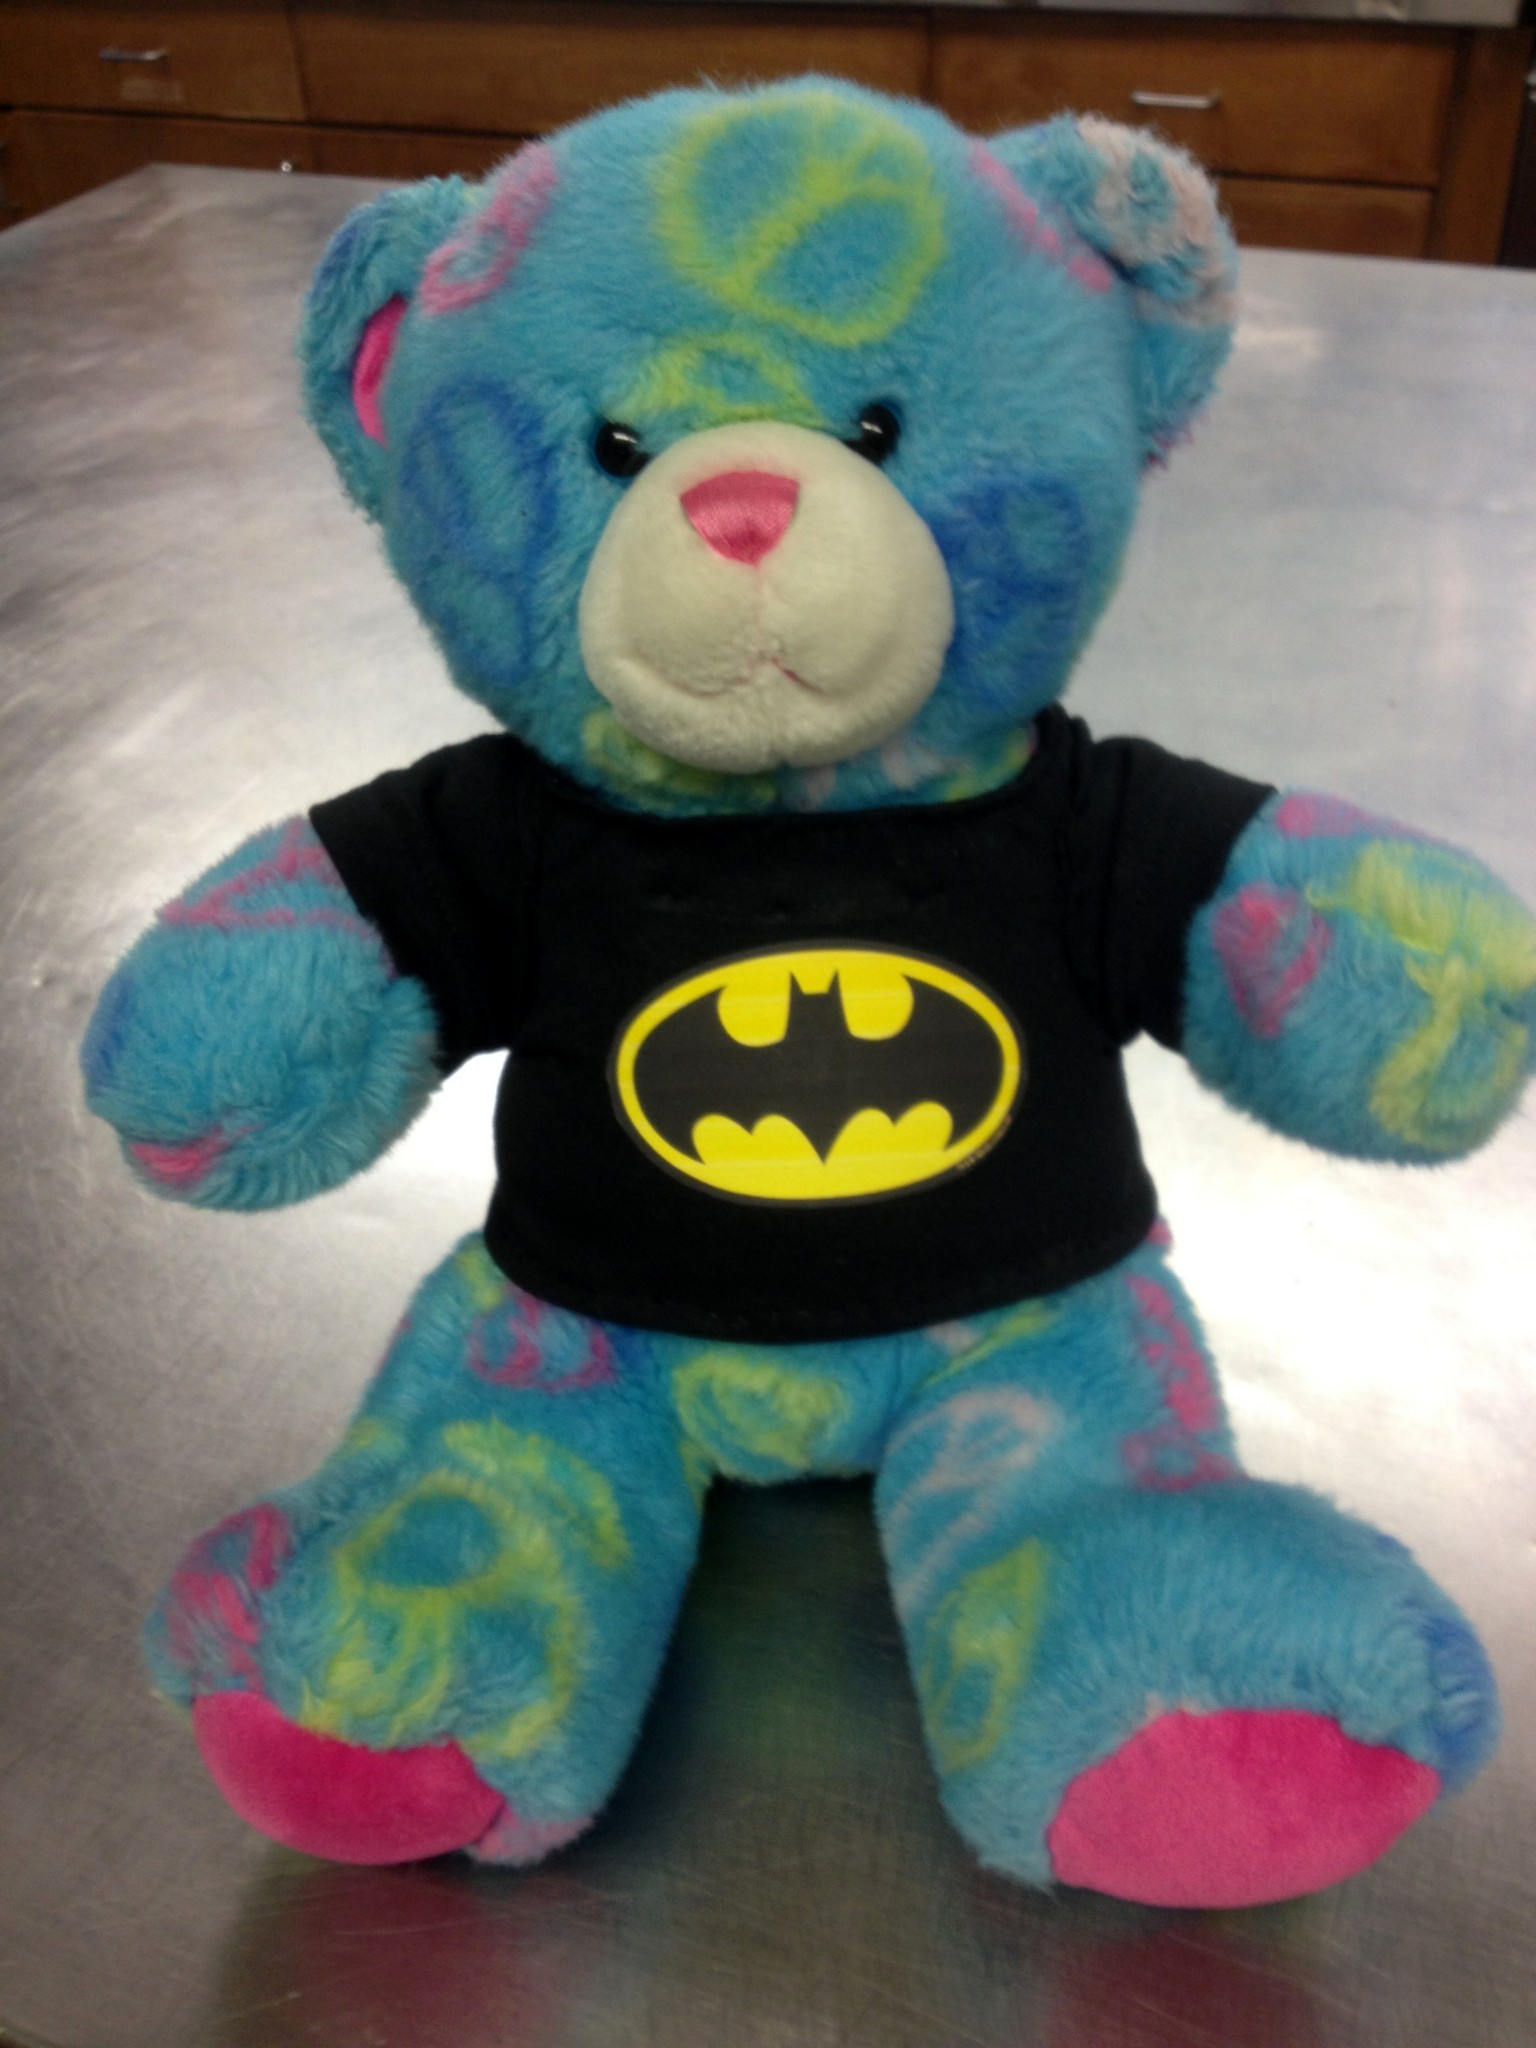


Here’s a picture of a batman shirt I made, and the miniature track shirt I made for my friend so they can match!


1 Comments
Cool really helpful 😄👍
ReplyDelete